
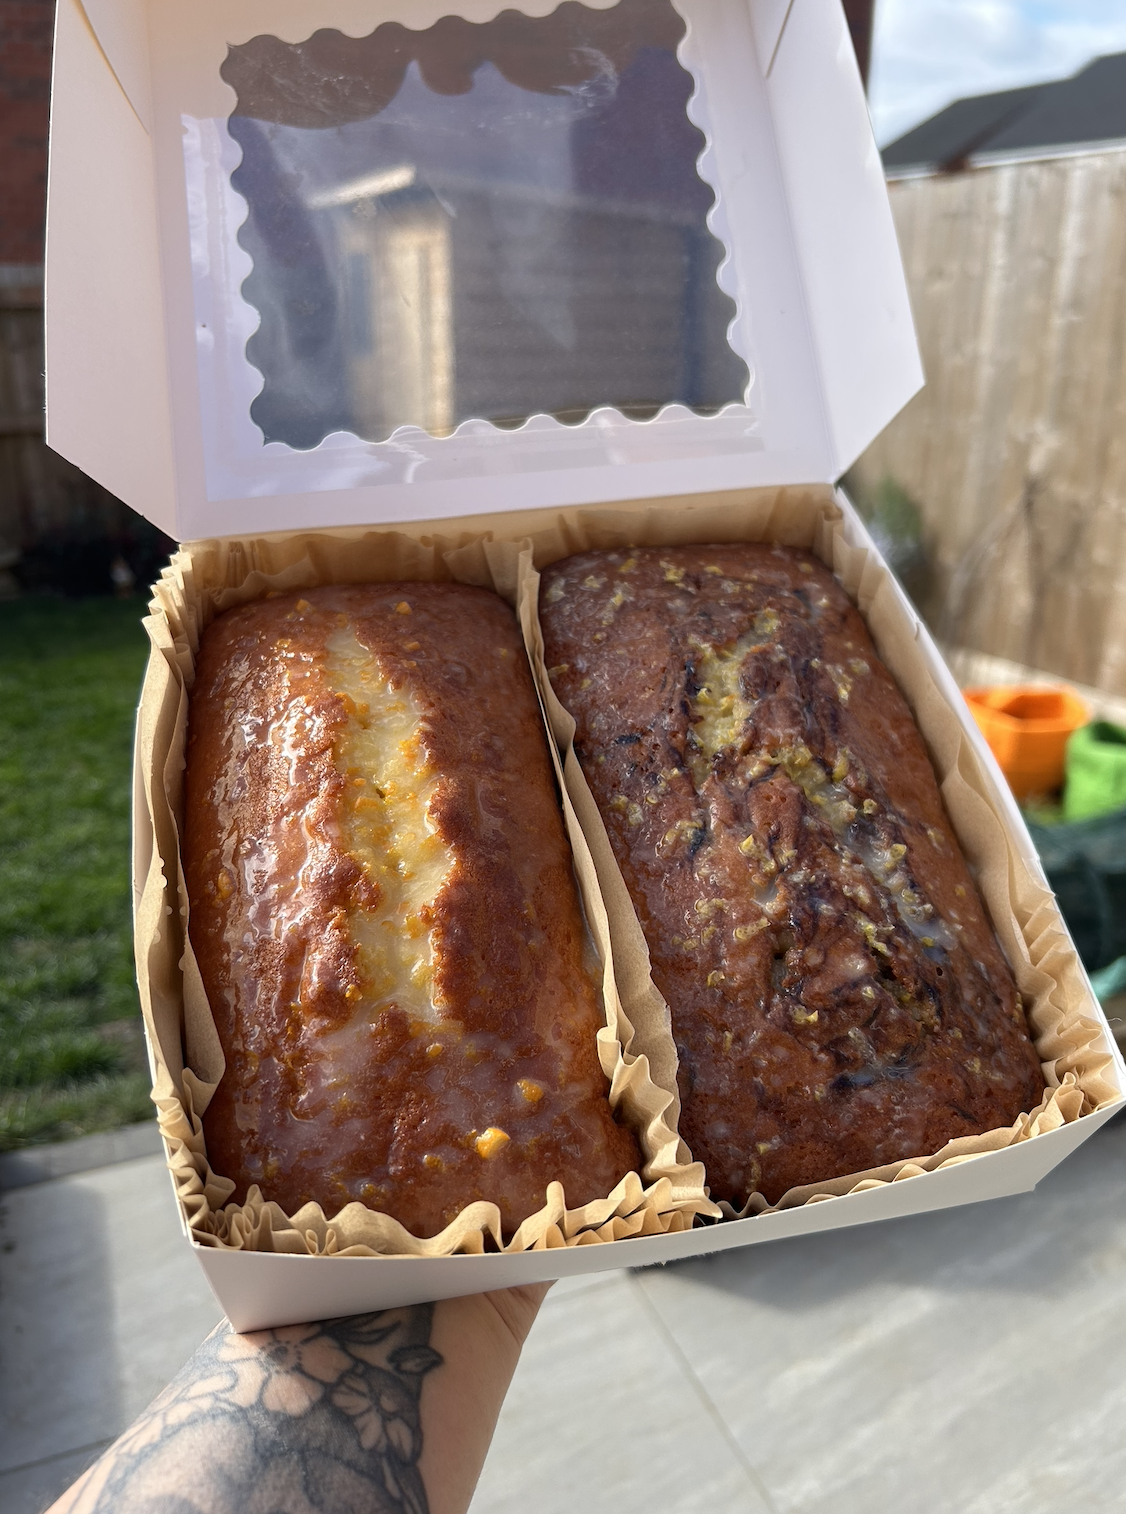
Lemon & Blueberry Loaf
⏱️ Prep Time: 8-10 Minutes
⏱️Cook Time: 30-40 Minutes
⏱️Total Time: 40-50 Minutes
⏱️Yield: 1 beautiful Loaf
Ingredients
220 grams Caster Sugar
2 Large Lemons
150 grams Softened Butter
3 Eggs
1 tsp Vanilla Extract
1 tbsp Natural Yoghurt
1 tbsp Double Cream
200 grams Plain flour
150 grams Blueberries
Syrup
70 grams Icing Sugar
50 ml Lemon Juice
20 ml Milk
Baking this lemon and blueberry loaf is one of those recipes that feels just as good as it tastes. It’s simple, comforting, and full of fresh flavour. Take your time with each step, enjoy the process, and don’t worry about perfection. In the end, you’ll have a soft, zesty cake bursting with blueberries and finished with a light, tangy glaze.
Method
Step 1: Preparing the Lemon Sugar
Begin by preheating your oven to 170°C (fan) or 180°C for a conventional oven. Line a loaf tin with baking paper or grease it well, then set it aside.
Pour your caster sugar into a large mixing bowl. Take a fresh lemon and finely grate the zest directly into the sugar. Once all the zest has been added, use your fingertips to rub it into the sugar until it feels slightly damp and smells strong and fragrant. This step helps release the natural oils and gives the cake a much deeper lemon flavour.
Step 2: Mixing the Wet Ingredients
Add your softened butter into the bowl with the lemon sugar. Using a spoon or whisk, mix it together until the mixture becomes pale, smooth and creamy. Taking a little extra time here will help create a lighter sponge.
Next, squeeze the lemon you zested and measure out around 50ml of juice. Add this into the bowl along with the eggs, vanilla extract, natural yoghurt and double cream.
Mix everything together until fully combined. At this stage, the mixture may look slightly runny or a little split, but this is completely normal and will come together once the flour is added.
Step 3: Adding the Dry Ingredients
Place your flour into a sieve and gently sift it into the bowl. Using a spoon or spatula, fold the flour into the mixture until just combined. Be careful not to overmix here, as this can make the sponge dense rather than light and airy.
Before adding your blueberries, lightly coat them in a small amount of flour. This helps prevent them from sinking to the bottom of the cake during baking. Fold them gently into the batter until evenly distributed.
Pour the mixture into your prepared loaf tin and smooth the top.
Step 4: Preparing the Optional Blueberry Topping
If you’d like to add a decorative topping, place your remaining blueberries into a small saucepan. Add a little sugar, lemon juice and a splash of water, then gently heat the mixture.
After a few minutes, begin pressing the blueberries with a spoon to release their juices. Continue to cook for a further 4–5 minutes until the mixture thickens into a compote.
Remove from the heat and allow it to cool slightly. Spoon small amounts over the top of your cake batter, then use the end of a spoon or a skewer to swirl it through the surface to create a marbled effect.
Step 5: Baking the Cake
Place the loaf tin into the oven and bake for around 30 to 45 minutes. Baking times can vary depending on your oven, so it’s best to start checking after about 25 minutes.
If the top begins to brown too quickly, you can loosely cover it with foil to prevent it from catching.
To check if the cake is ready, insert a skewer or toothpick into the centre. If it comes out clean or with just a few crumbs, the cake is done. If there is still wet batter, return it to the oven and check again in a few minutes.
Step 6: Make the Glaze
Once the cake has finished baking, remove it from the oven and place it onto a cooling rack. Allow it to cool completely before adding the glaze, as this helps it set nicely on top rather than melting straight off.
While the cake is cooling, prepare your glaze. Place a sieve over a bowl and sift in your icing sugar to remove any lumps. Add the lemon zest, fresh lemon juice and milk, then whisk everything together until you have a smooth, pourable glaze.
Once the cake has cooled, slowly pour the glaze over the top, allowing it to drip naturally down the sides. Leave it to sit for 5 to 10 minutes so it can soak in slightly and set before slicing.
This final step adds a fresh, sharp lemon finish that really brings the whole cake together.
Step 7: Extra Tips for Best Results
If you’d like a quick tester, you can spoon a small amount of the batter into a separate mini tin and bake it alongside the loaf. This gives you an early taste and helps you judge how the cake is progressing.
You can also place a small tray of water in the bottom of the oven while baking. This creates a little steam, which can help keep the cake soft and moist.
Once baked, allow the cake to cool in the tin for a short while before lifting it out. Leave it to cool fully before slicing for the best texture.
Mix in what you love
Sometimes the simplest recipe becomes your favourite with just one small change. Use this sponge as your canvas and make it yours! Cozy, comforting, and baked exactly the way you like.

Orange
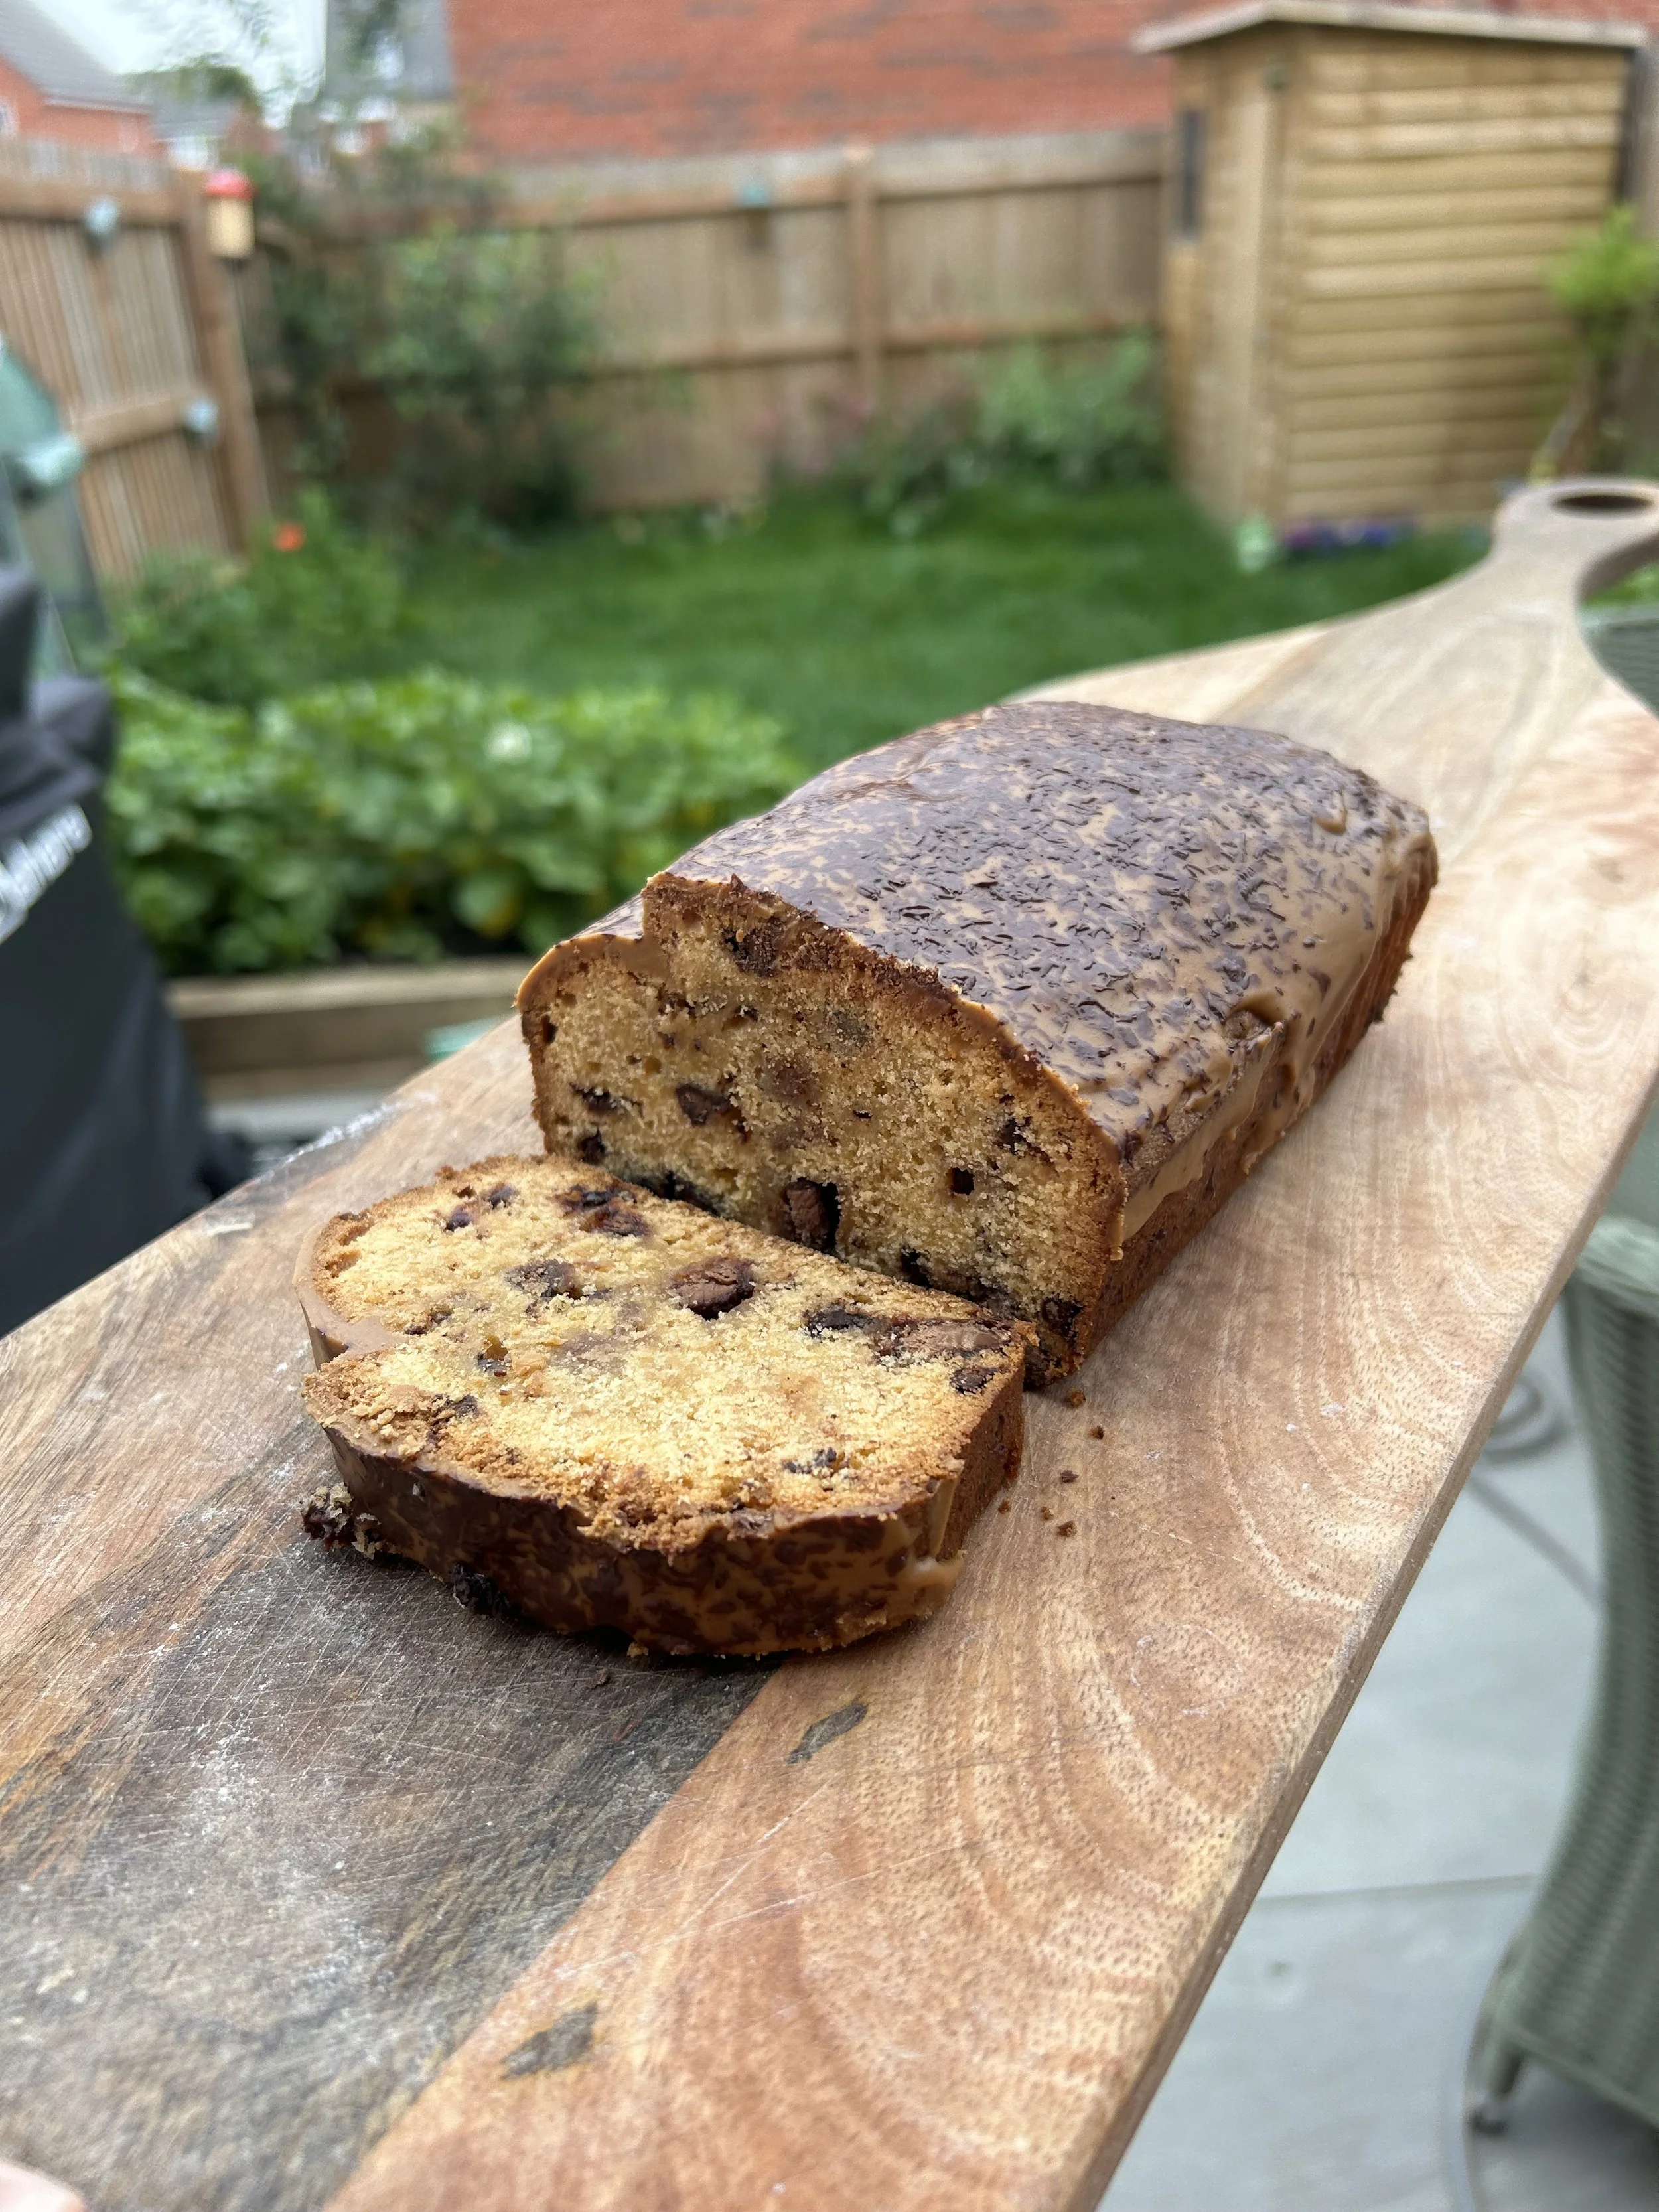
Chocolate Caramel
Raspberry and Pistachio